Table of Contents
Total Launcher Setup Guide: A New User Step-By-Step Post-Installation Process
Total Launcher
landing screen
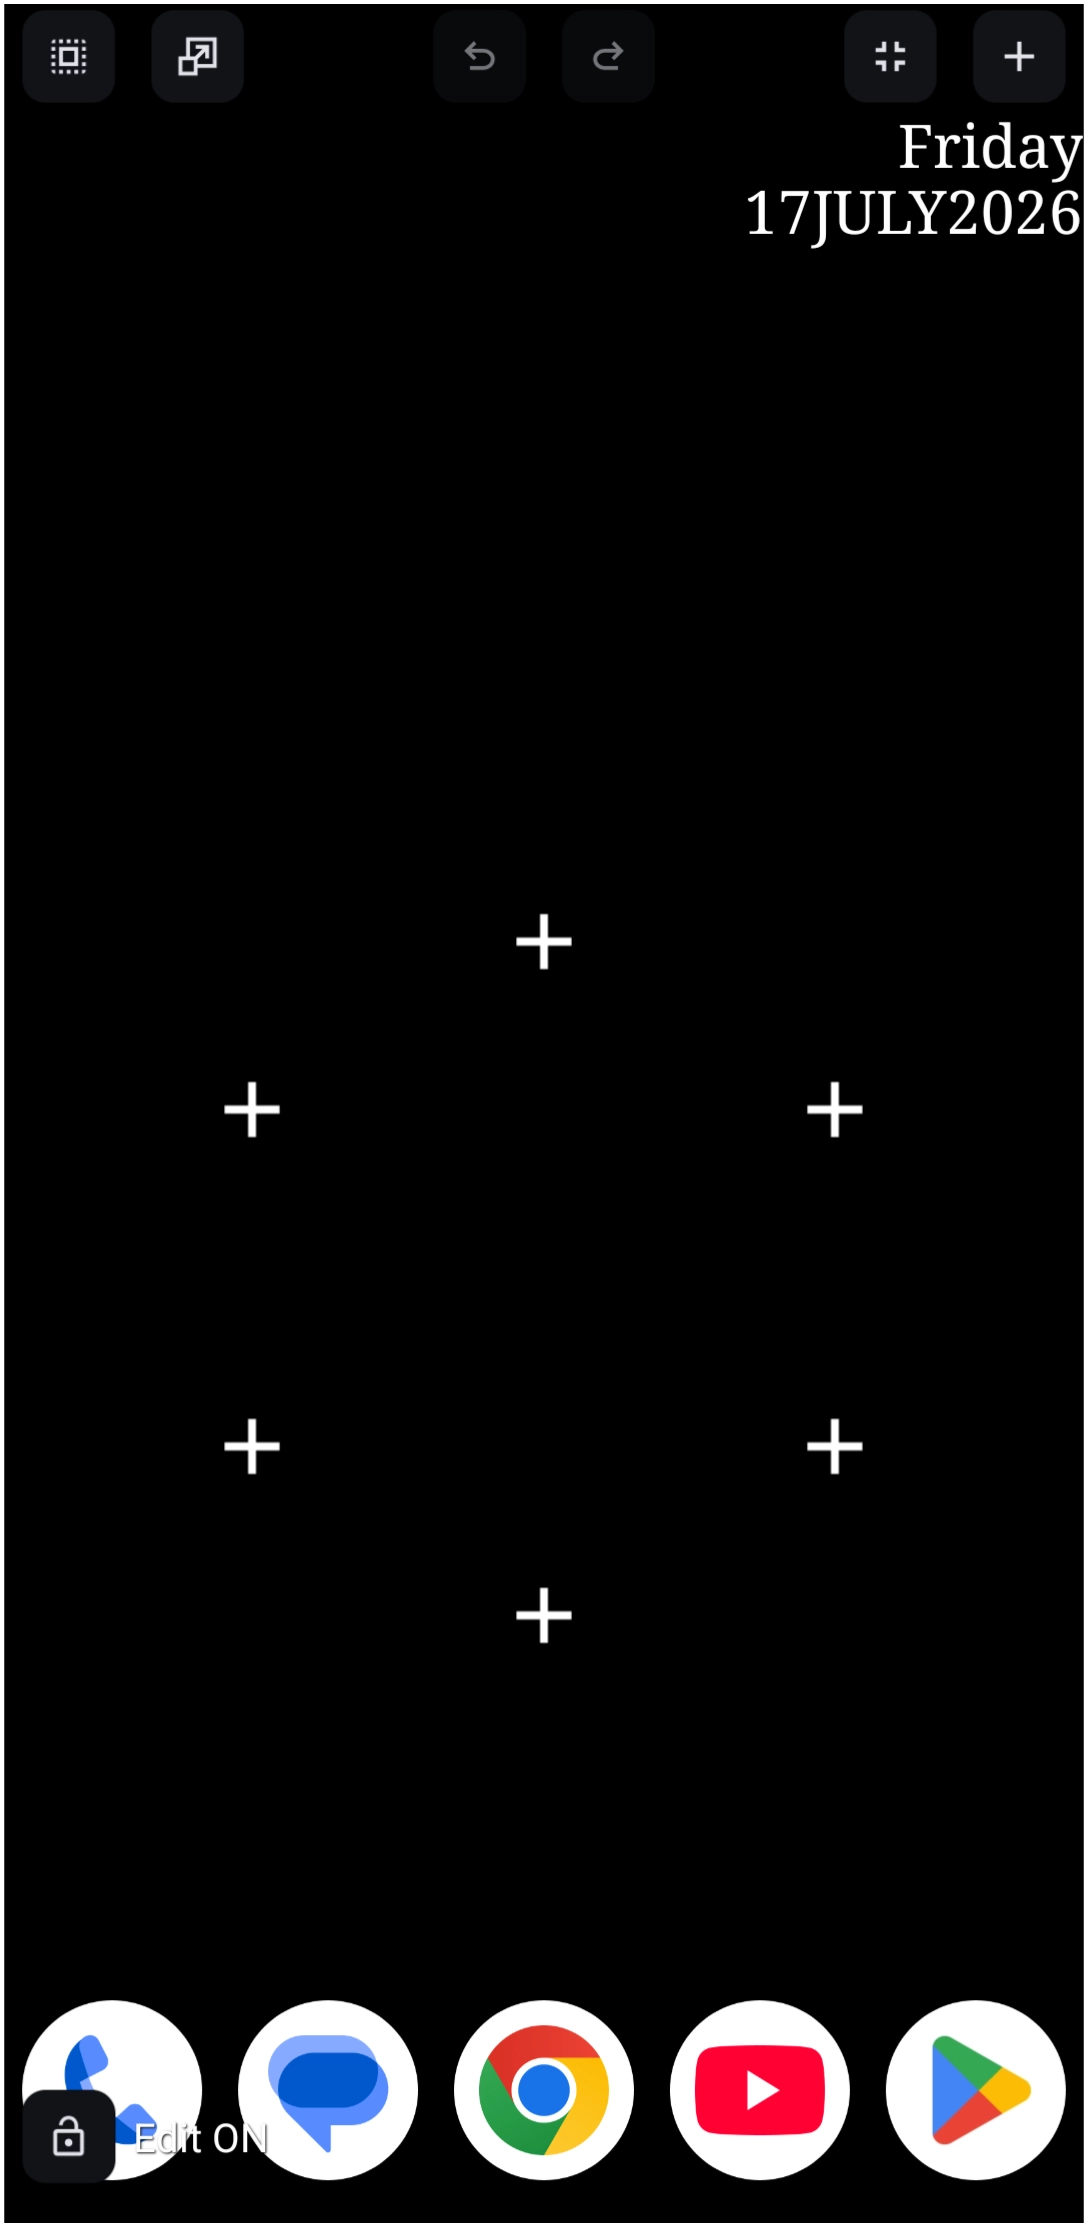
Executing a structured post-installation configuration establishes the foundation for a highly efficient and stable custom Android interface. Initialize a clean workspace by removing default stock widgets to prevent layout clutter and ensure complete creative control over subsequent design layers. Within Total Launcher, setting backgrounds independent of orientation, defining dynamic date elements, and binding precise touch actions transforms a raw installation into a personalized, high-performance environment.
This foundational documentation delineates the exact sequence required to clear default templates, map application links, embed custom audio feedback, and secure the completed setup using the internal backup utility. The configuration sequence initiates with purging the default installation layer.
Starting with a Clean Slate
Before designing the new user interface, the existing default widgets must be removed at the user's discretion. The default installation setup is shown above.
- When first installed, the Launcher is in Edit On mode and the Developer's “App Reminders” will periodically flash on the screen. They offer key points for learning Total Launcher. If missed or to review them again, check here.
- As a reminder, the Launcher does require the user to grant specific Android permissions to perform select functions. Some of these are presented during installation. However, it would be good to review a summary of these to become acquainted and use as a future reference. See Total Launcher Permissions - Suggested For New Installs.
The Launcher's initial setup includes:
- Home Screen: Day and Date, 6 object circular layout, 5 object bottom dock (pinned)
- Screen 2 (swipe left): 3 row / 4 column grid App widget; 5 object bottom dock (pinned)
- Screen 3 (swipe left): 3 row / 4 column grid Contact widget; 5 object bottom dock (pinned)
To customize the setup:
- Long-press a blank area of the screen to enter layout edit options.
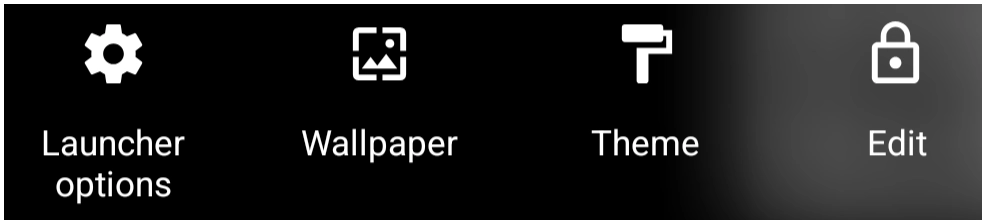
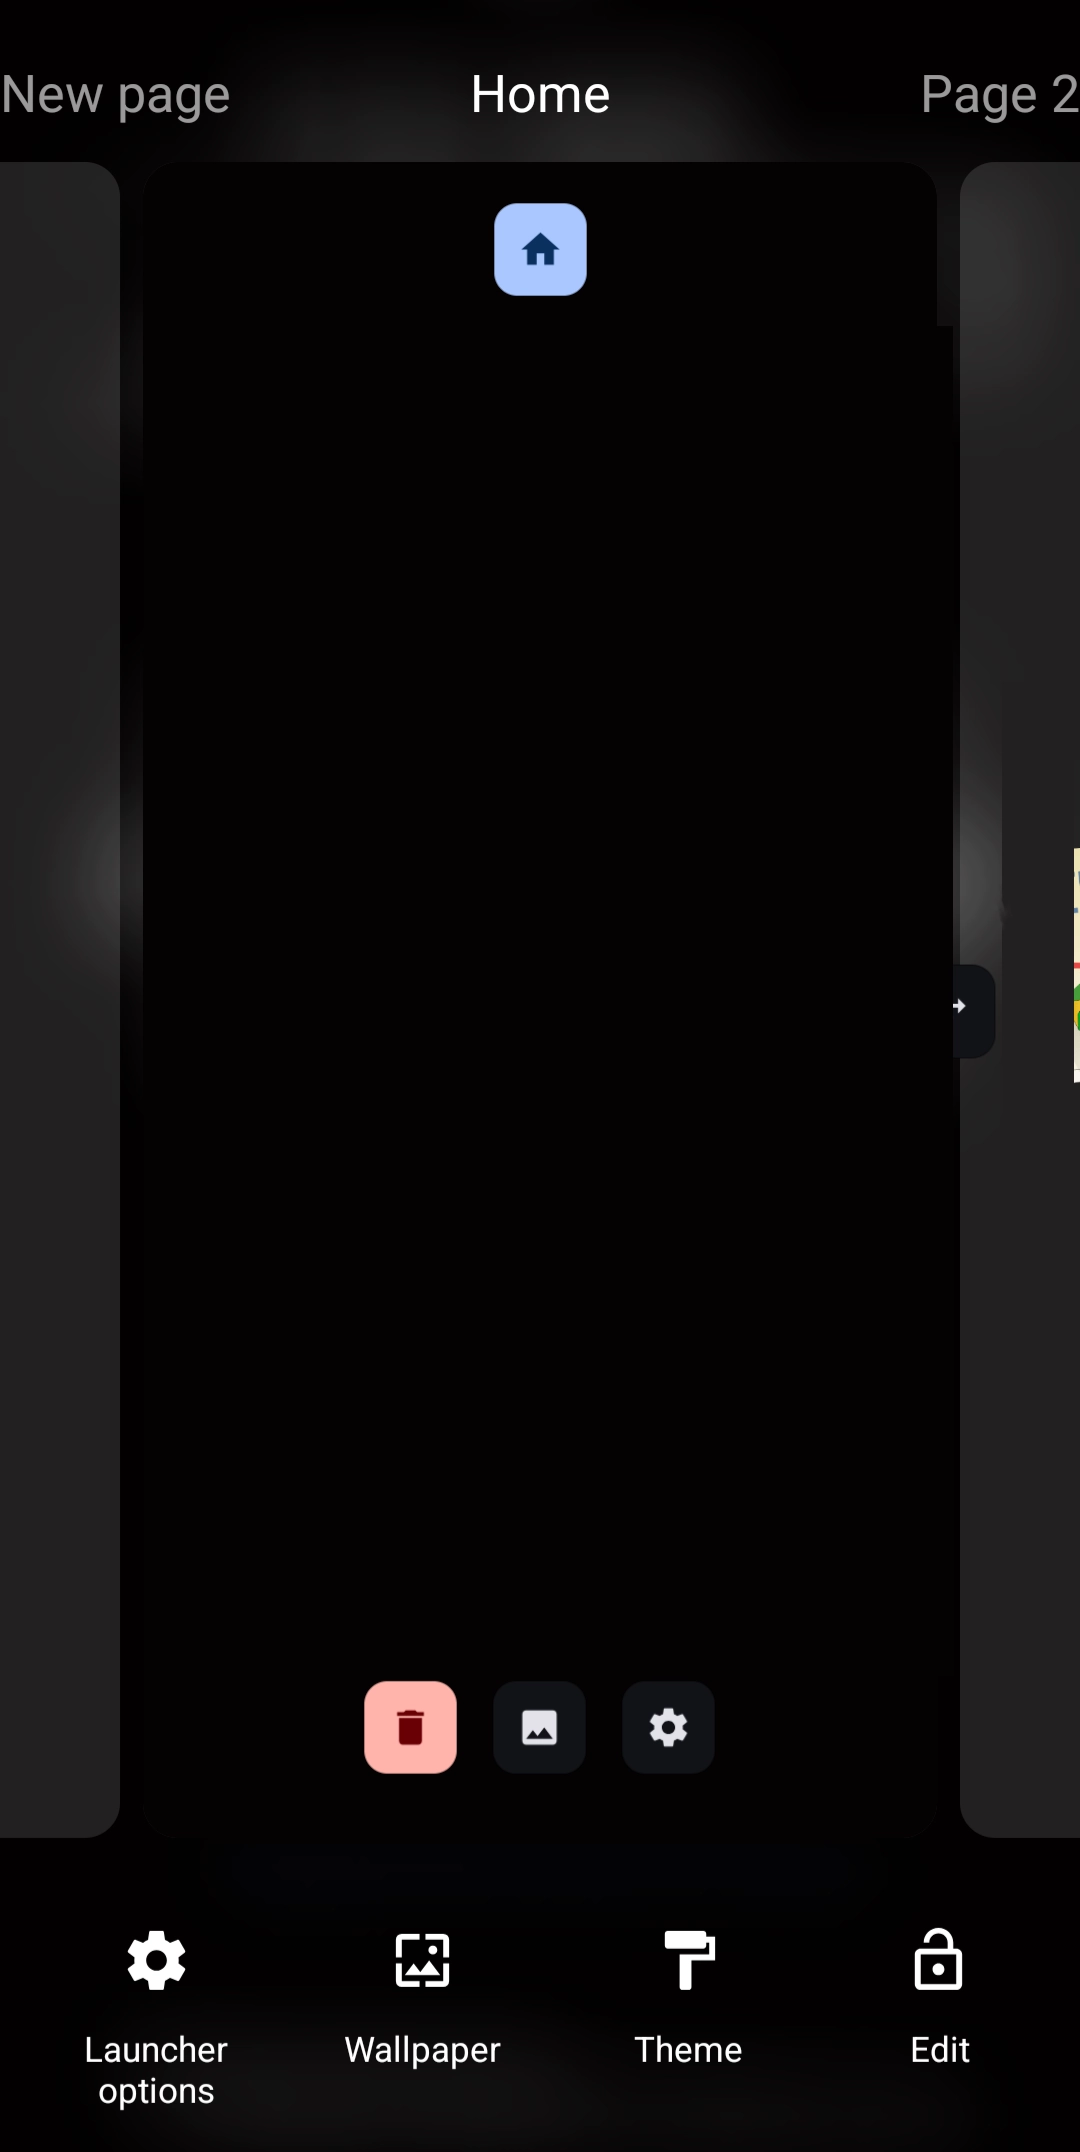
- Verify that the main window shrinks and the
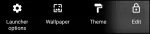 shows at the bottom of the page.
- If the
Edit Officon shows on the right, press it to change to
 Edit On .
. - Tap the center of the window to return it to full size as shown by this image.
- As an example of deleting an item (steps to replace it will follow): the day/date
- Long-press the day/date to highlight it and activate object edit mode.
- Tap the trash can icon
 in the top right corner and confirm the deletion.
- To replace it now, just as if it was accidentally deleted:
- While in Edit On mode, the Page Design menu
 on the top has a “redo” icon
  . Tap it to see the deleted object returned to its place.
- Repeat the deletion process for any other default elements until the screen is clear, if that is wanted.
- Tap a blank space on the window or press the device back button to save and exit element edit mode.



Setting a Background Image
- Long-press (or
Pinch-in) anywhere on the screen to enter Edit mode to shrink the window view. Tap the ''Edit Off'' icon in the lower right to change it to an ''Edit On'' icon - Tap the
Imageicon located at the bottom of the center window.
 - Decide if the layout will be for landscape or portrait mode (each is independent of the other)
- Select the landscape (or portrait) image option to open the image library page.
- Press the plus (
+) icon and navigate to the device location of the desired background image.
 - Select the image to import and save a copy into the launcher library.
- Tap the picture within the library to open the background setting page.
- Select
Fit TypetheKeep aspect ratio of imageStretch to screenStretch to content- and press
OK.
- Tap the main window to apply and display the new full-size background. Edit On mode is still active. If desired, tap it to enter Edit Off mode.


Adding and Customizing a Clock Element
- Tap the plus (
+) icon in the top right corner. - Navigate through
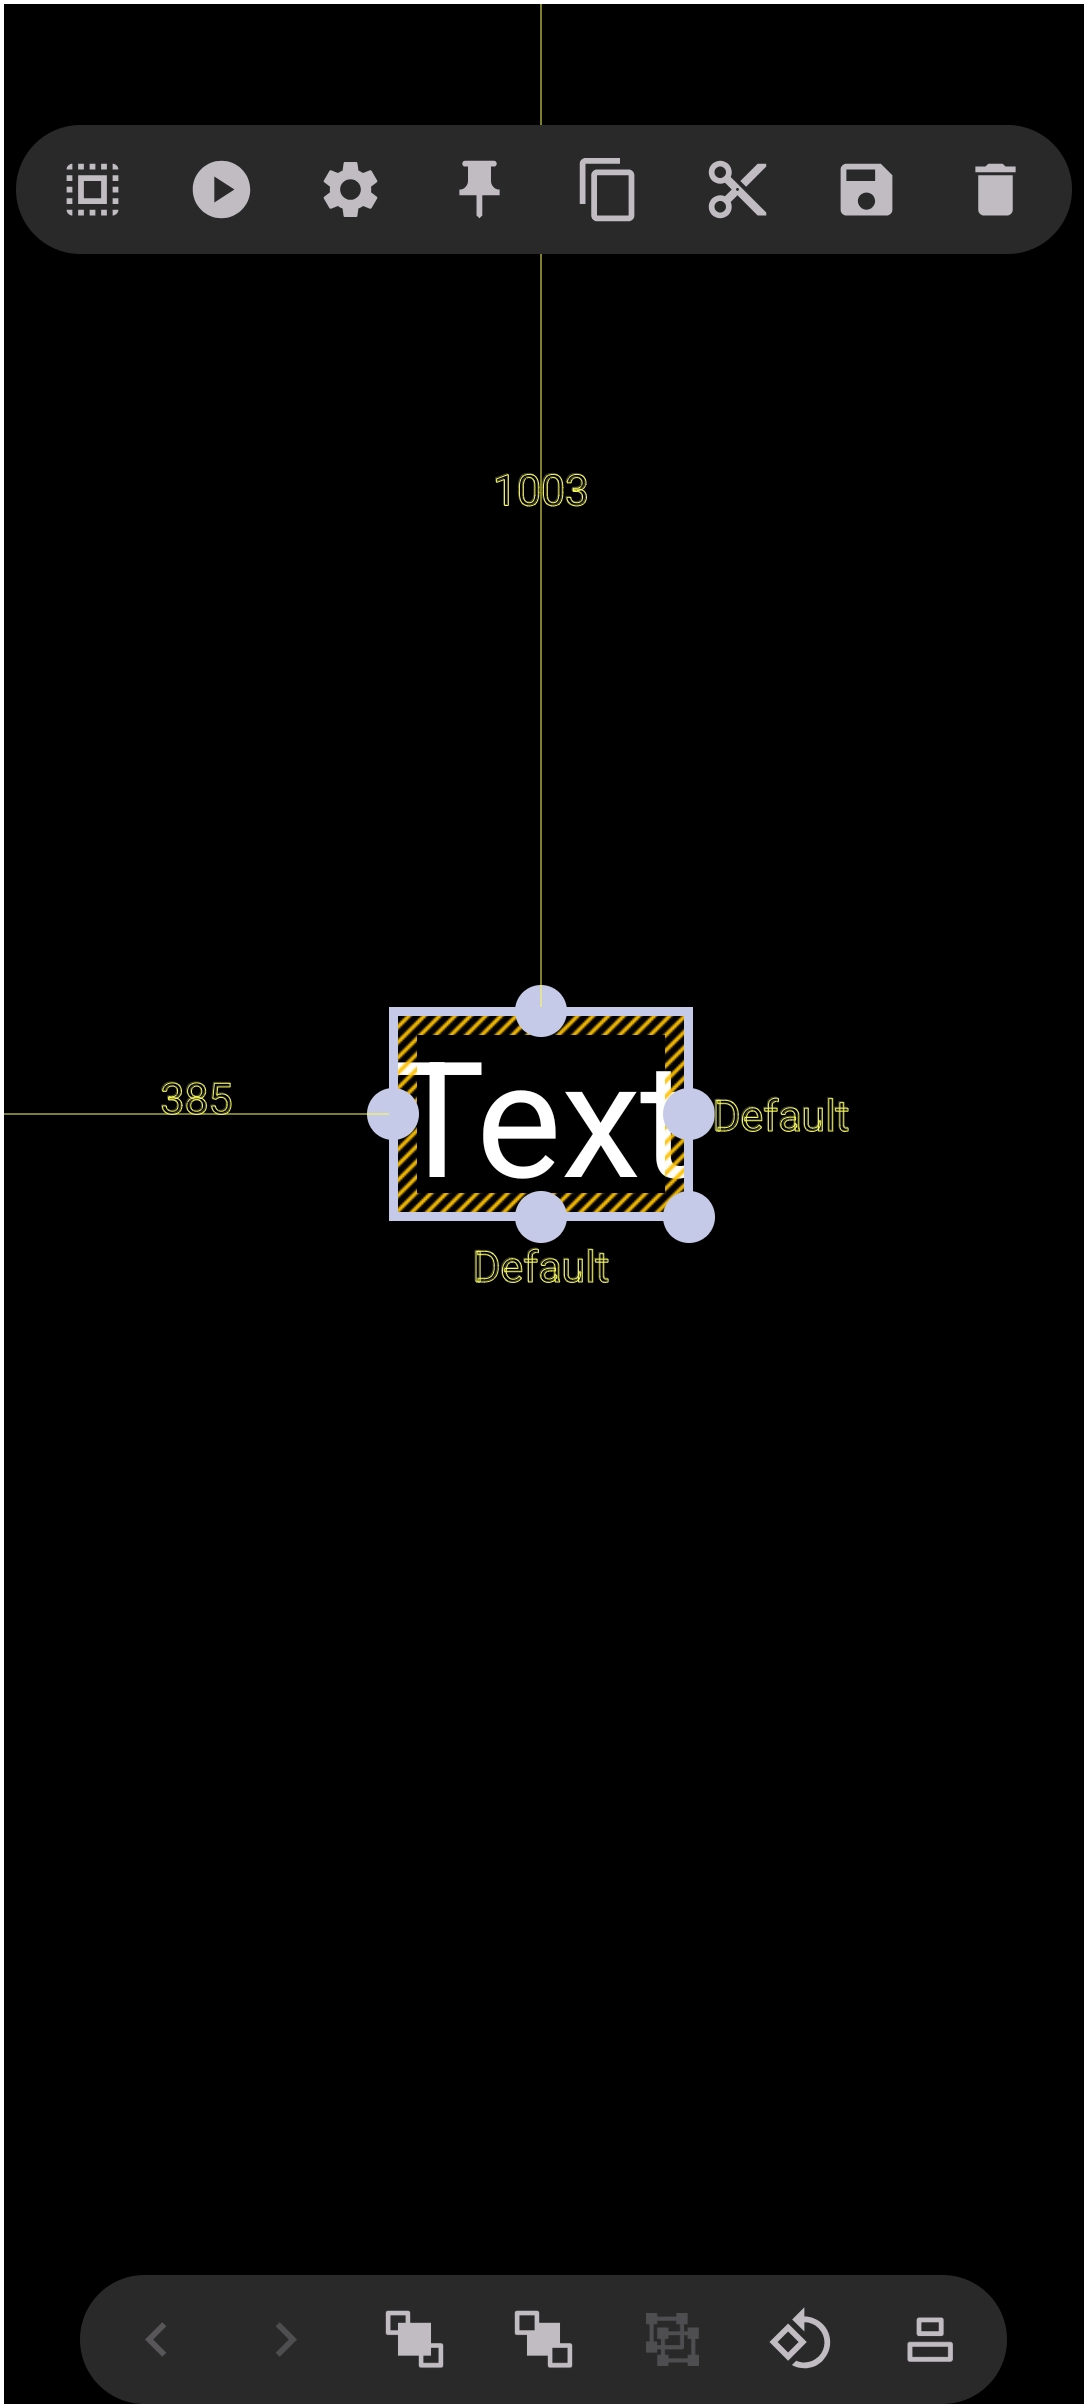
Graphic>Text>Defaultto place a text box on the screen. This is a generic view of that. - Tap the Option icon
 to open element settings.
 - Select
Textand then selectDate/time. - Tap the end of the default format string, delete the contents, and input
HH:mmorhh:mmvia the keyboard. - Scroll to the bottom of the page, tap
OK, and swipe right-to-left to back out of the screen to view the clock. - Adjust the position of the clock by dragging it, or adjust the size using the dots around the bounding box.
- Change the text color if necessary by tapping the Option icon, navigating to
Text color, selectingcolor, and choosing the preferred color. - Swipe right-to-left to back out of the screen and save changes.

Creating an Application Launch Button
- Tap the plus (
+) icon and selectGraphic>Text>Default. - Tap the Option icon, select
Text, and ensurePlain textis active. - Tap the text field, enter the desired application name, scroll to the bottom of the page, and tap
OK. - Check the
Capitalize allbox if uniform lettering is desired, then swipe right-to-left to exit the screen. - Tap the Action icon
 to the left of the Option icon.
 - Under
Tap, press theActionfield and selectApplication. - Scroll through the list, select the application named above.
- To move the object, tap-and-drag right-to-left over the text element background area, and resize it to fit by the 'bulbs' on the corner boundary. Move the entire object intact with a tap-hold-drag motion to the desired area.
- Tap an empty space to deselect and finalize the button.

Creating a Website Shortcut with Copied Elements
- This can either be text, image, or icon.
- With Edit On mode, tap the plus (
+) icon and selectGraphic>Image>Default.- For an image: Tap
Image, press the plus (+) icon, and select a button image from the storage location. - For an icon: Tap
Icon packsand the Launcher will load any installed device icon pack. Scroll and select the one desired. - For text: The 'Text' is now on the screen. Position it in an empty space, and resize it.
- If multiple shortcuts are desired, long-press the existing text element and tap the
Copyicon .
. - Tap the plus (
+) icon, selectPaste , and drag the duplicate text over the new button image.
 - Tap the Option icon, select
Text, modify the text to reflect the website name, scroll down and select Ok and back out of the editor. - From a device browser, copy the target website URL (address).
- Select the object (either the text, image, or icon) with a long press, select the Option icon, and tap
Action>Launcher action. - Scroll to the bottom, tap
Open URL, and paste the copied URL, remove the default http:// prefix. - Tap
OK, then swipe right-to-left twice to save and return to the page. TapEdit ONto exit.


Utilizing Multi-Element Copy and Paste
- Long-press a button element to open the editor.
- Tap additional button elements to highlight and select multiple items simultaneously.
- Tap the
Copyicon, followed byPaste. - Drag the duplicated group of elements to the empty positions on the grid. Tap a blank space to deselect the elements.
- Edit the actions and text of the pasted buttons individually to save configuration time.
Adding Audio Effects to Elements
- Ensure sound files are saved in a device-accessible directory.
- Enter Edit Mode (Long press an empty) > )Toggle Edit Mode icon) > Tap the ''Edit Off'' icon in the lower right to change it to an ''Edit On'' icon
- Select the target object that is to play the sound.
- Tap the Action icon.
- Each object has 5 actions: tap and swipe (up, down, left, and right). Make a selection.
- From that selection, the '' Sound '' option will be available to access the launcher sound library. Tap it.
- Import with the
Addicon and select the desired audio file, then swipe right-to-left to return to the page. Tap an empty space. - Verify that the assigned sound plays whenever the element is tapped (or swiped). Tap
Edit ONto exit edit mode.
Creating Backups and Setting the Default Launcher
- Long-press a blank space on the launcher screen and select
Launcher options >
> Backup Centerthen tap the plus (+) icon, and selectNew backup.- Insert a custom identifier in front of the default
backup_YYMMDDtext string using underscores instead of spaces (e.g.,My_New_Table_01_backup_YYMMDDwith the YYMMDD being the current date). - Tap
OKand wait for theBackup successfulconfirmation message before exiting by a swipe right-to-left.
- Set Total Launcher as the system default by navigating through system settings:
Settings>Apps>Total Launcher>Home App, and selectTotal Launcher. - For more information, see Backup: Access, Create, Export, Import.
Comments & Feedback
Toby Lancer is ready to help! Look for the Quick Help form:
► Desktop: left sidebar located near the bottom for Private to Admin
► Mobile: 3-bar menu at page top.
► Use the Discussion section below to share any experiences and communications with other Total Launcher users.
► Any Registered User can directly update this and any wiki page if desired.
Moderation: To keep the manual clean, all comments are held for appropriateness review. Preview any comment before submitting it. It will not be displayed after submission until it is reviewed. So, please, do not resubmit.
Formatting: If using any code snippets, place them inside code tags (e.g., 'code') using double single quotes (') before and after to keep them readable.
Be Kind: This is a community effort. Please keep feedback constructive and on topic.
~~DISCUSSION~~