meta data for this page
Translations of this page:
- en
This is an old revision of the document!
How to Configure Total Launcher After Installation
This guide provides the basic procedure for initializing, customizing, and backing up a new Total Launcher installation.
Starting with a Clean Slate
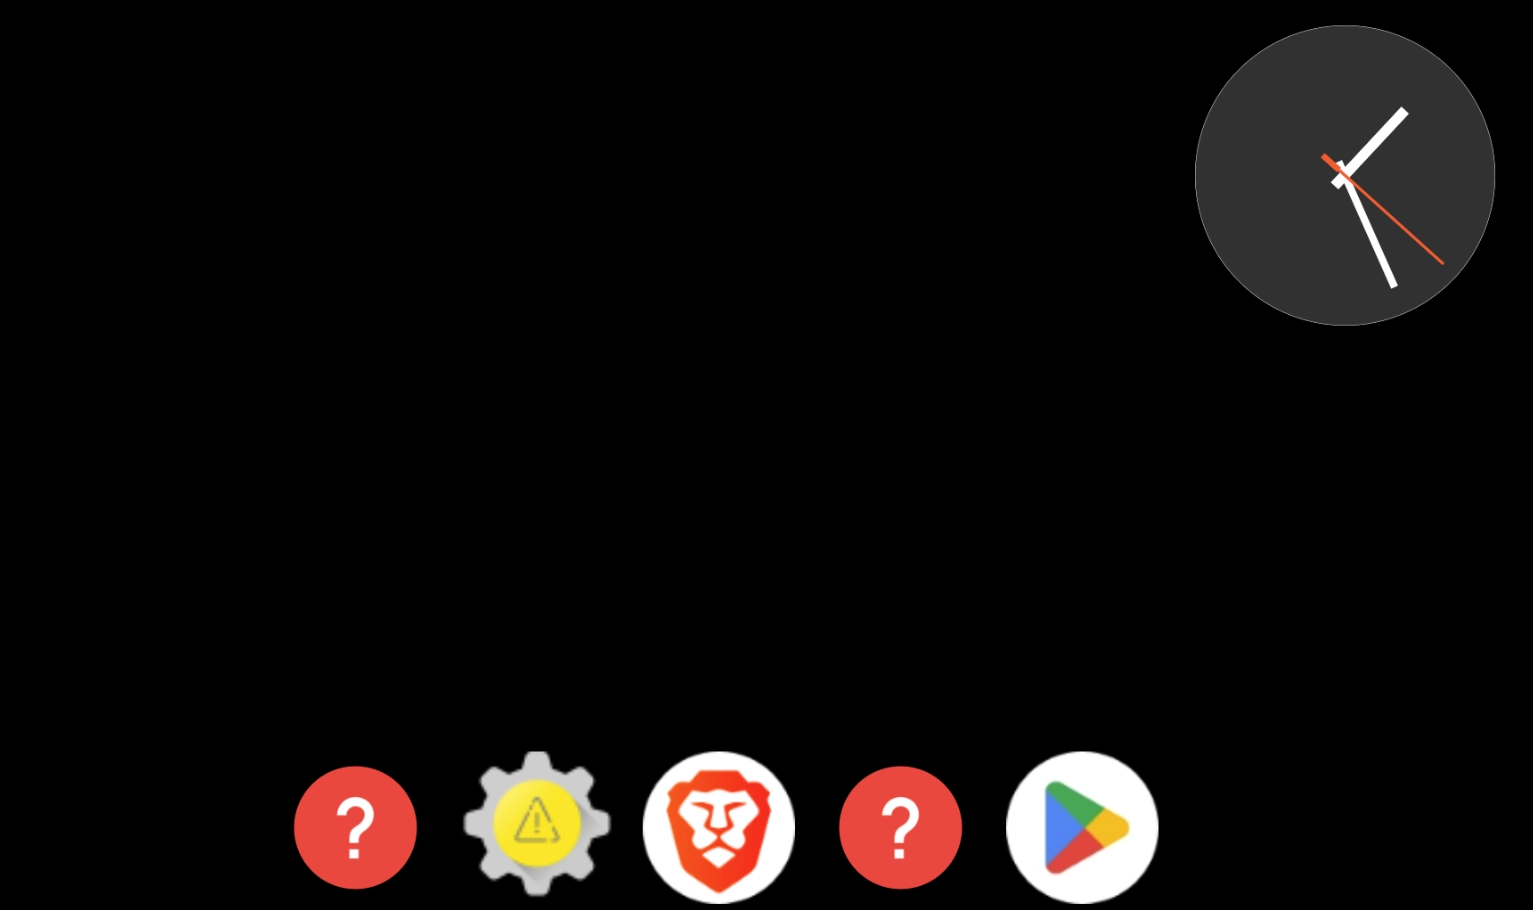
Before designing the new user interface, the existing default widgets must be removed. Click here to view the default installation setup.
- Long press a blank area of the screen to enter layout edit options.
- Verify that the main window shrinks and the
Menuicon appears on the bottom left.
- Press the
Edit Officon on the right to change it to
 Edit On .
. - Tap the center of the window to return it to full size while keeping the editor enabled.
- Long press a widget to highlight it and activate element edit mode.
- Tap the trash can icon
 in the top right corner and confirm the deletion.
 - Repeat the deletion process for all other default elements until the screen is clear.
- Tap a blank space on the window or press the device back button to save and exit element edit mode.
Setting a Background Image
- Long press anywhere on the screen to shrink the window view.
- Tap the
Imageicon ui-icon_image.webp_direct_25 located at the bottom of the window. - Decide if the layout will be for landscape or portrait mode (each are independent of the other)
- Select the landscape (or portrait) image option to open the image library page.
- Press the plus (
+) icon and navigate to the device location of the desired background image.
 - Select the image to import and save a copy into the launcher library.
- Tap the picture within the library to open the background setting page.
- Select
Stretch to fit screenand pressOK. - Tap the main window to apply and display the new full-size background.
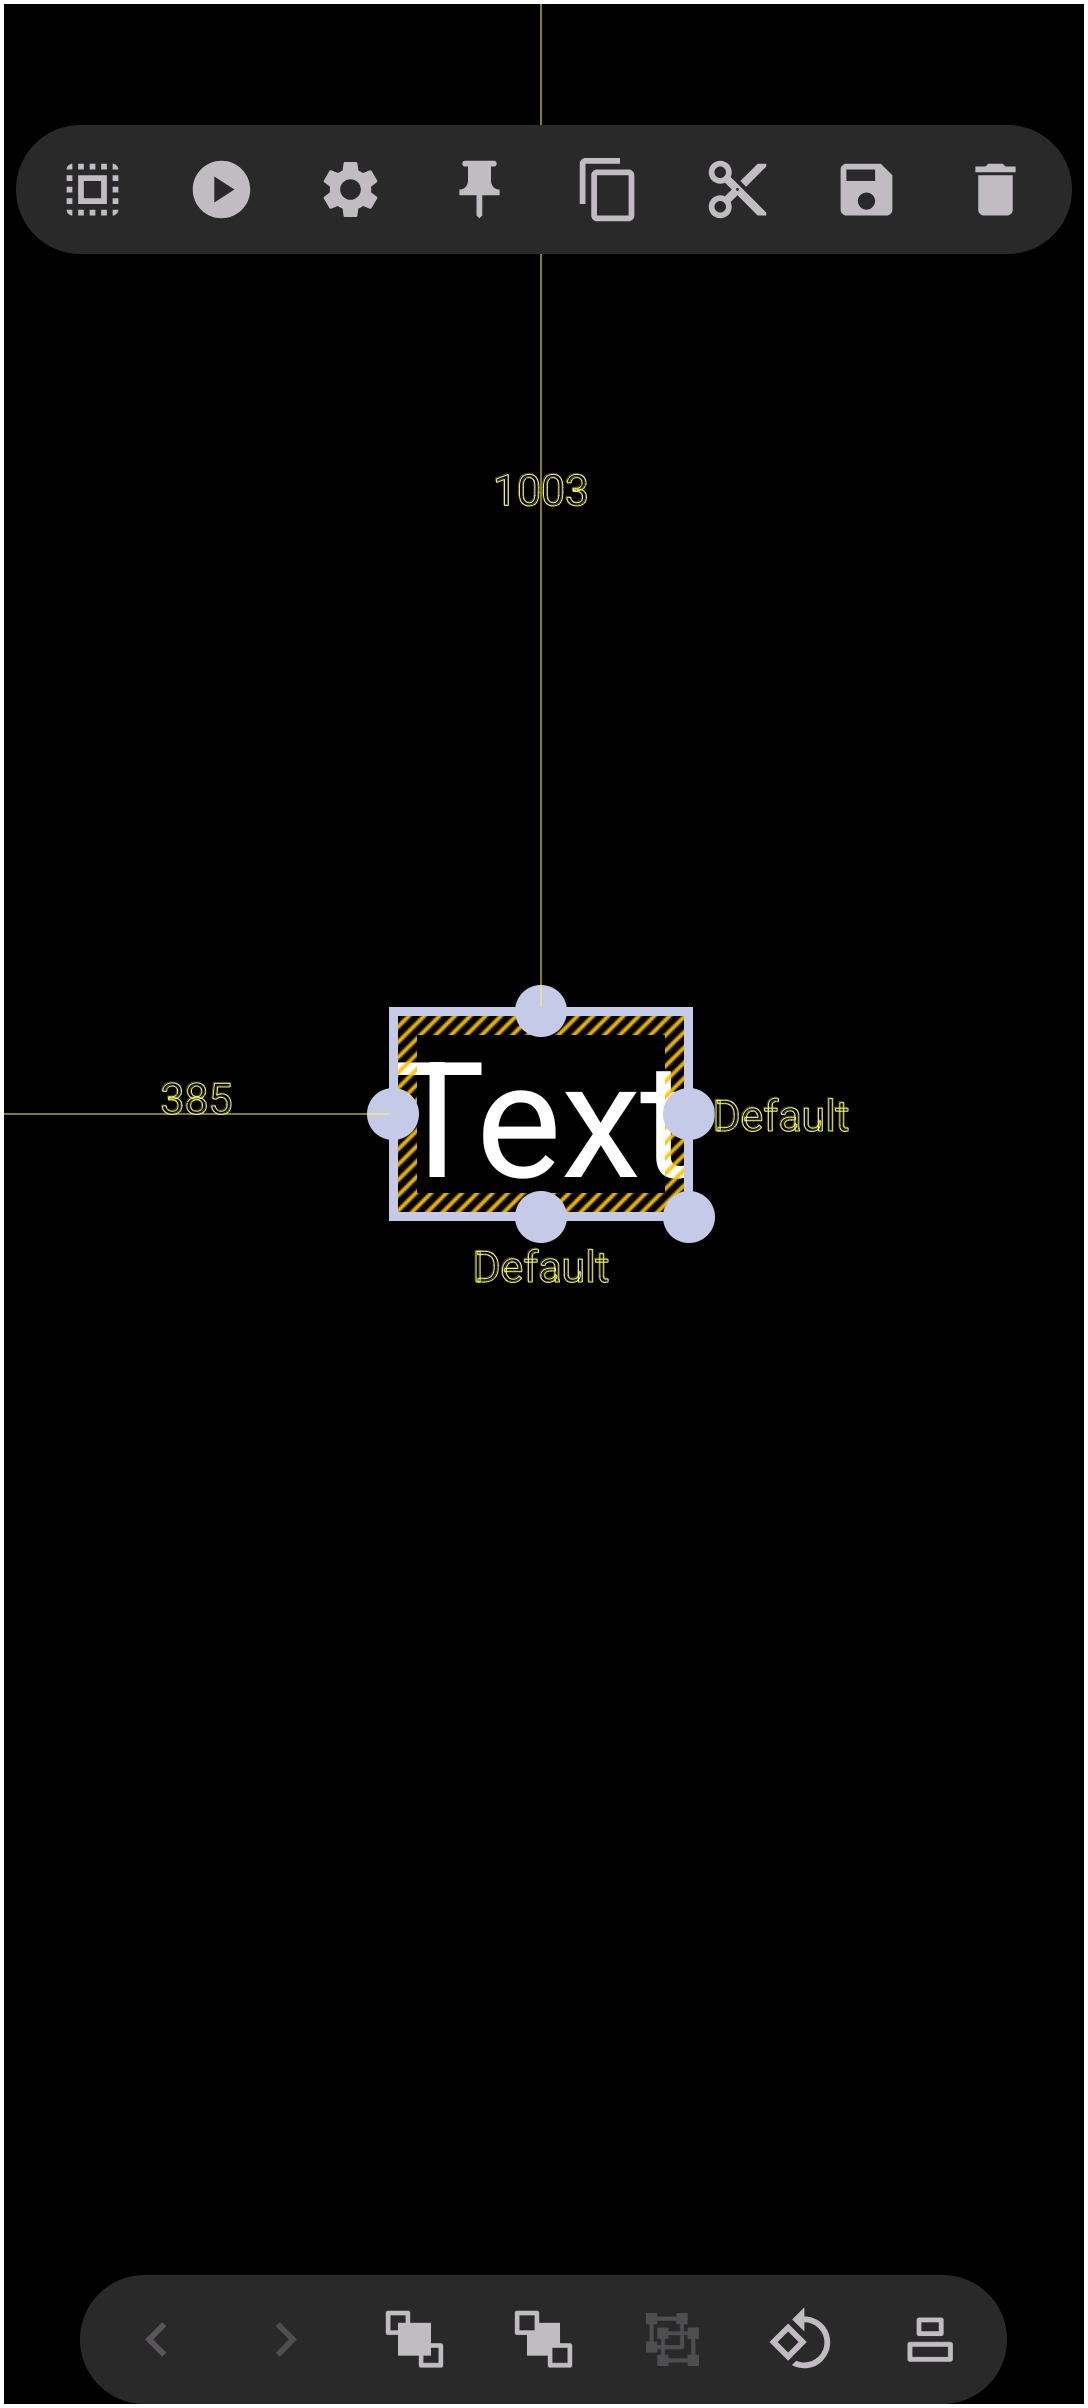
Adding and Customizing a Clock Element
- Tap the plus (
+) icon in the top right corner. - Navigate through
Graphic>Text>Defaultto place a ++text box on the screen.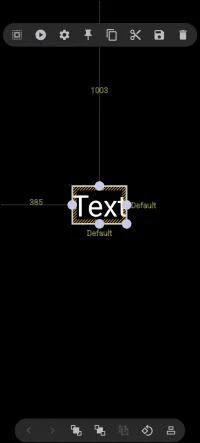 ++
++ - Tap the Option icon ui-icon_option.webp_direct_25 to open element settings.
- Select
Textand then selectDate/time. - Tap the end of the default format string, delete the contents, and input
HH:mmorhh:mmvia the keyboard. - Scroll to the bottom of the page, tap
OK, and swipe right-to-left to back out of the screen to view the clock. - Adjust the position of the clock by dragging it, or adjust the size using the dots around the bounding box.
- Change the text color if necessary by tapping the Option icon, navigating to
Text color, selectingcolor, choosing the preferred color. - Swipe right-to-left to back out of the screen and save changes.
Creating an Application Launch Button
- Tap the plus (
+) icon and selectGraphic>Text>Default. - Tap the Option icon, select
Text, and ensurePlain textis active. - Tap the text field, enter the desired application name, scroll to the bottom of the page and tap
OK. - Check the
Capitalise allbox if uniform lettering is desired, then swipe right-to-left to exit the screen. - Tap the Action icon
 to the left of the Option icon.
 - Under
Tap, press theActionfield and selectApplication. - Scroll through the list, select the desired application.
- Swipe right-to-left, drag the text element over the target background area, and resize it to fit.
- Tap an empty space to de-select and finalize the button.
Creating a Website Shortcut with Copied Elements
- Tap the plus (
+) icon and selectGraphic>Image>Default. - Tap
Image, press the plus (+) icon, and select a button image from the storage location. - Tap the imported image in the library, position it on an empty space, and resize it.
- Long press an existing text element and tap the
Copyicon .
. - Tap the plus (
+) icon, selectPaste , and drag the duplicate text over the new button image.
 - Tap the Option icon, select
Text, modify the text to reflect the website name, scroll down and select Ok and back out of the editor. - From the device browser, copy the target website URL.
- Long press the text on the new button, select the Option icon, and tap
Action>Launcher action. - Scroll to the bottom, tap
Open URL, and paste the copied URL, remove the default 'http:' prefix. - TapOK, then swipe right-to-left twice to save and return to the page. TapEdit ONto exit. ===== Utilizing Multi-Element Copy and Paste ===== - Long press a button element to open the editor. - Tap additional button elements to highlight and select multiple items simultaneously. - Tap theCopyicon, followed byPaste. - Drag the duplicated group of elements to the empty positions on the grid. Tap a blank space to de-select the elements. - Edit the actions and text of the pasted buttons individually to save configuration time. ===== Adding Audio Effects to Elements ===== - Ensure sound files are saved in a device-accessible directory. - Open the element editor by long pressing the target item.? - Tap the Action icon and select theSoundoption to access the launcher sound library. - Import with theAddicon and select the desired audio file, then swipe right-to-left to return to the page. Tap an empty space. - Verify that the assigned sound plays whenever the element is tapped. TapEdit ONto exit edit mode. ===== Creating Backups and Setting the Default Launcher ===== - Long press a blank space on the launcher screen and tap theMenuicon .
- Select
.
- Select Backup center, tap the plus (+) icon, and selectNew backup. - Insert a custom identifier in front of the defaultbackup_YYMMDDtext string using underscores instead of spaces (e.g.,My_New_Table_01_backup_YYMMDDwith the YYMMDD being the current date). - TapOKand wait for theBackup successfulconfirmation message before exiting by a swipe right-to-left. - Set Total Launcher as the system default by navigating through system settings:Settings>Apps>Total Launcher>Home App, and selectTotal Launcher.
Discussion