meta data for this page
Automated Life: Master A Schedule with Total Launcher & Macrodroid Taxonomy
A very interesting project once the world of taxonomy is understood. Simplistically, it is
- A structured framework for naming and organizing information into a hierarchy to ensure everything is discoverable and easy to manage
A more fully rounded understanding can be reviewed in this article by Enterprise Knowledge (2022). Use this background to turn a device (phone, tablet, computer) from a simple list of reminders into a dynamic, categorized ecosystem.
Total Launcher is the interface to display automation results. It does not have built-in automation capabilities. Macrodroid, available on the Google Play Store, is the automation app that handles the hard work in Google Calendar. Total Launcher visually displays these results.
The procedure is step-by-step, with “test trials” along the way to verify success. It offers one (1) taxonomy category:
- Doctor visits
But others can easily be replicated using the same steps, just varying the taxonomy keyword and message content … such as
- Podcast recording
- Gardening activity
Not every user may need these categories, but the procedure is a shell with new categories, notification keywords, and content injected to meet user needs.
Enjoy!
Procedure: Google Calendar Widget in Total Launcher with Gesture + Macrodroid Integration (with Taxonomy)
A. Create a Pop‑Up Calendar Window in Total Launcher
- Long‑press an empty area to enter Edit On mode
- Tap
+>Graphic>Image>Windowto open the “Window Portrait” dialog - Tap
+to begin adding a specific window: name itcalendar_window. Press OK. - Locate that item in the list and tap its action icon
 to open it in edit mode.
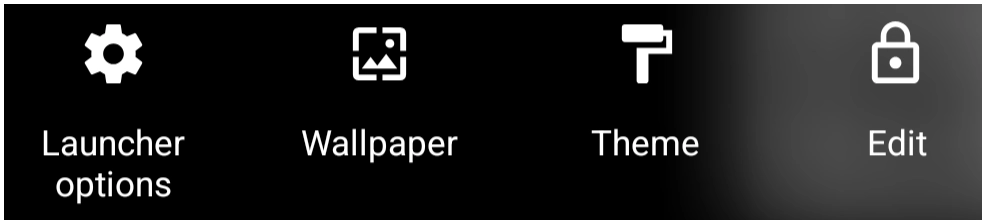
 - In the top menu row, tap the Edit icon
 to open the window full screen.
 - In the lower right corner is the Options
- Tap the center of the screen to reveal the Object Edit icon
 to reveal the manual size and positioning dialog
- To briefly resize the window, enter X as
165; Y as1050; Width as695; Height as800. Press OK. - - These measures are a good start but will later allow for resizing the window by tap/drag, which is visually easier. Manual entry is for more refined adjustments.
- The new window has been initially created with basic options. Swipe right-to-left to close it and return to the “Windows Portrait” dialog. Locate the window in the list, then tap its “name” to add it to the launcher screen.
- What is viewed is the default window image within its boundaries.
- To get acquainted with the window, tap outside of the boundaries to deselect it:
- Tap the window image to open the window and note the initial resizing and position performed.
- Tap/hold/drag the window center to move the window
- Tap/hold the center of the window to reveal the Option icon
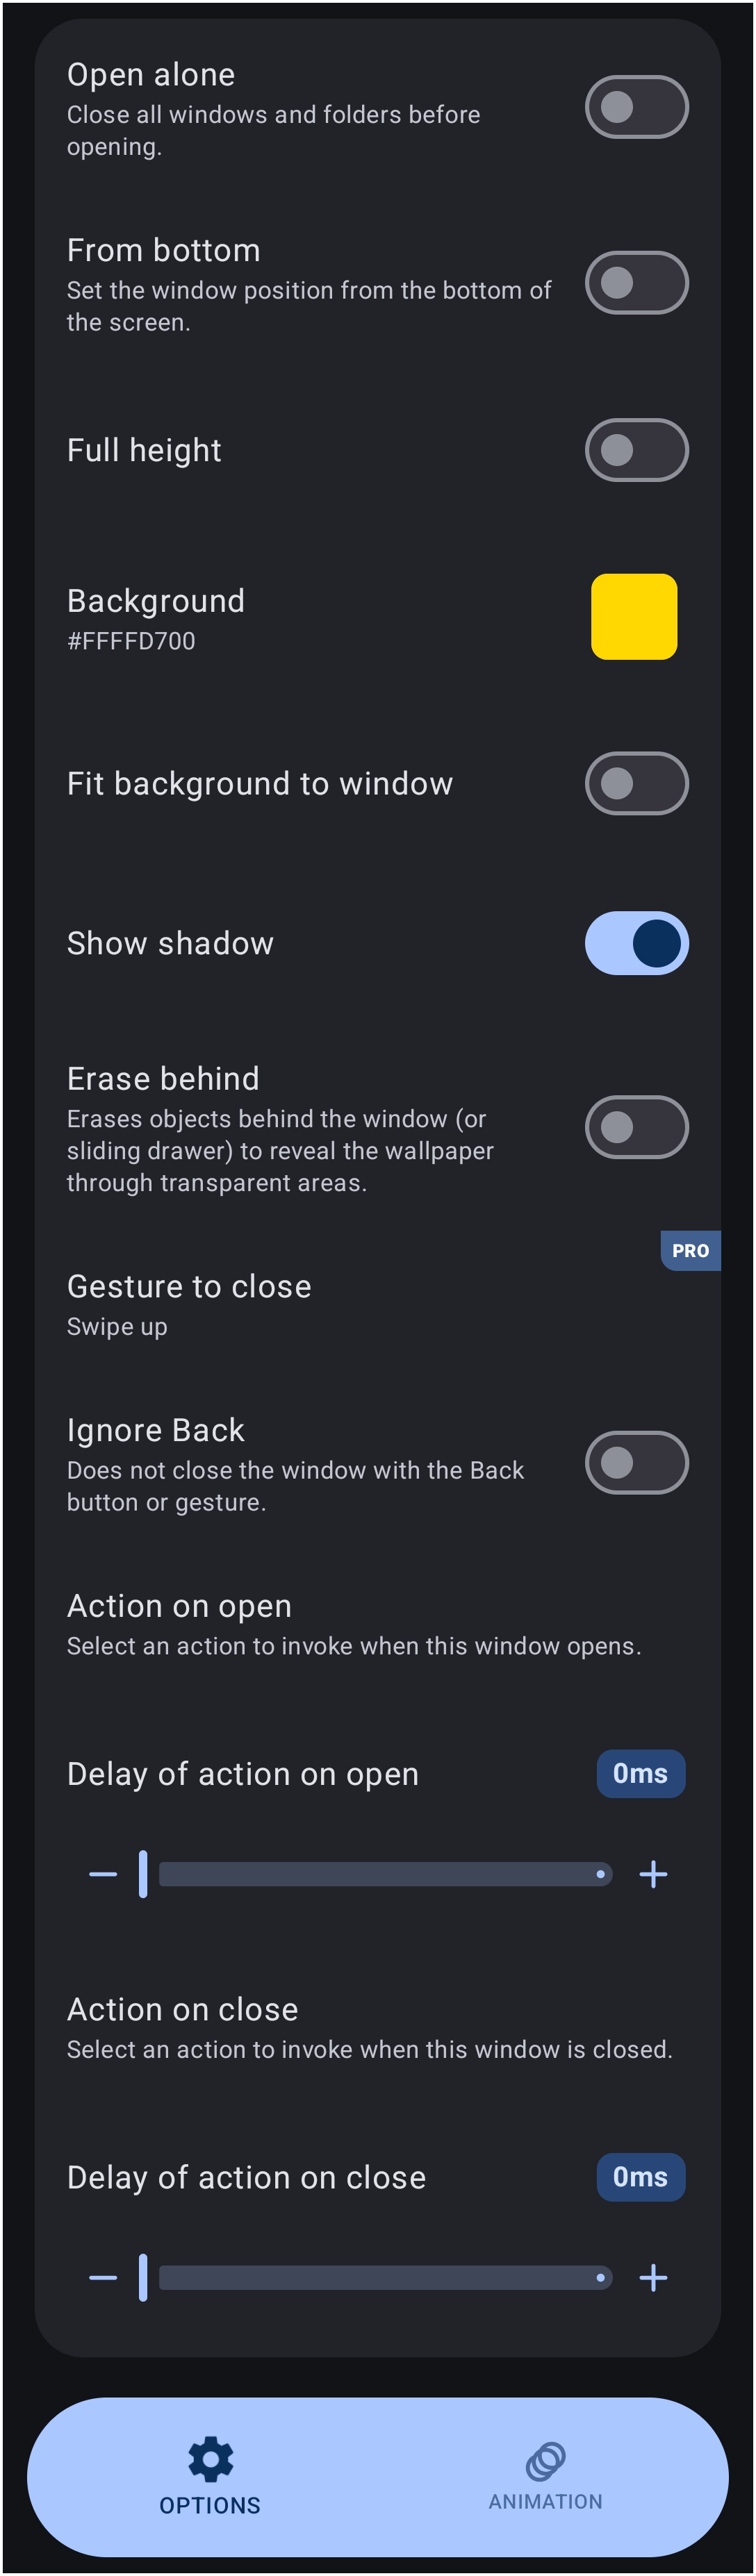
 in the lower right corner. Tap it to open the Option dialog shown here.
- Full review of the dialog can be found at the Windows Dialog Section of this wiki. This procedure will only deal with a limited number of options.
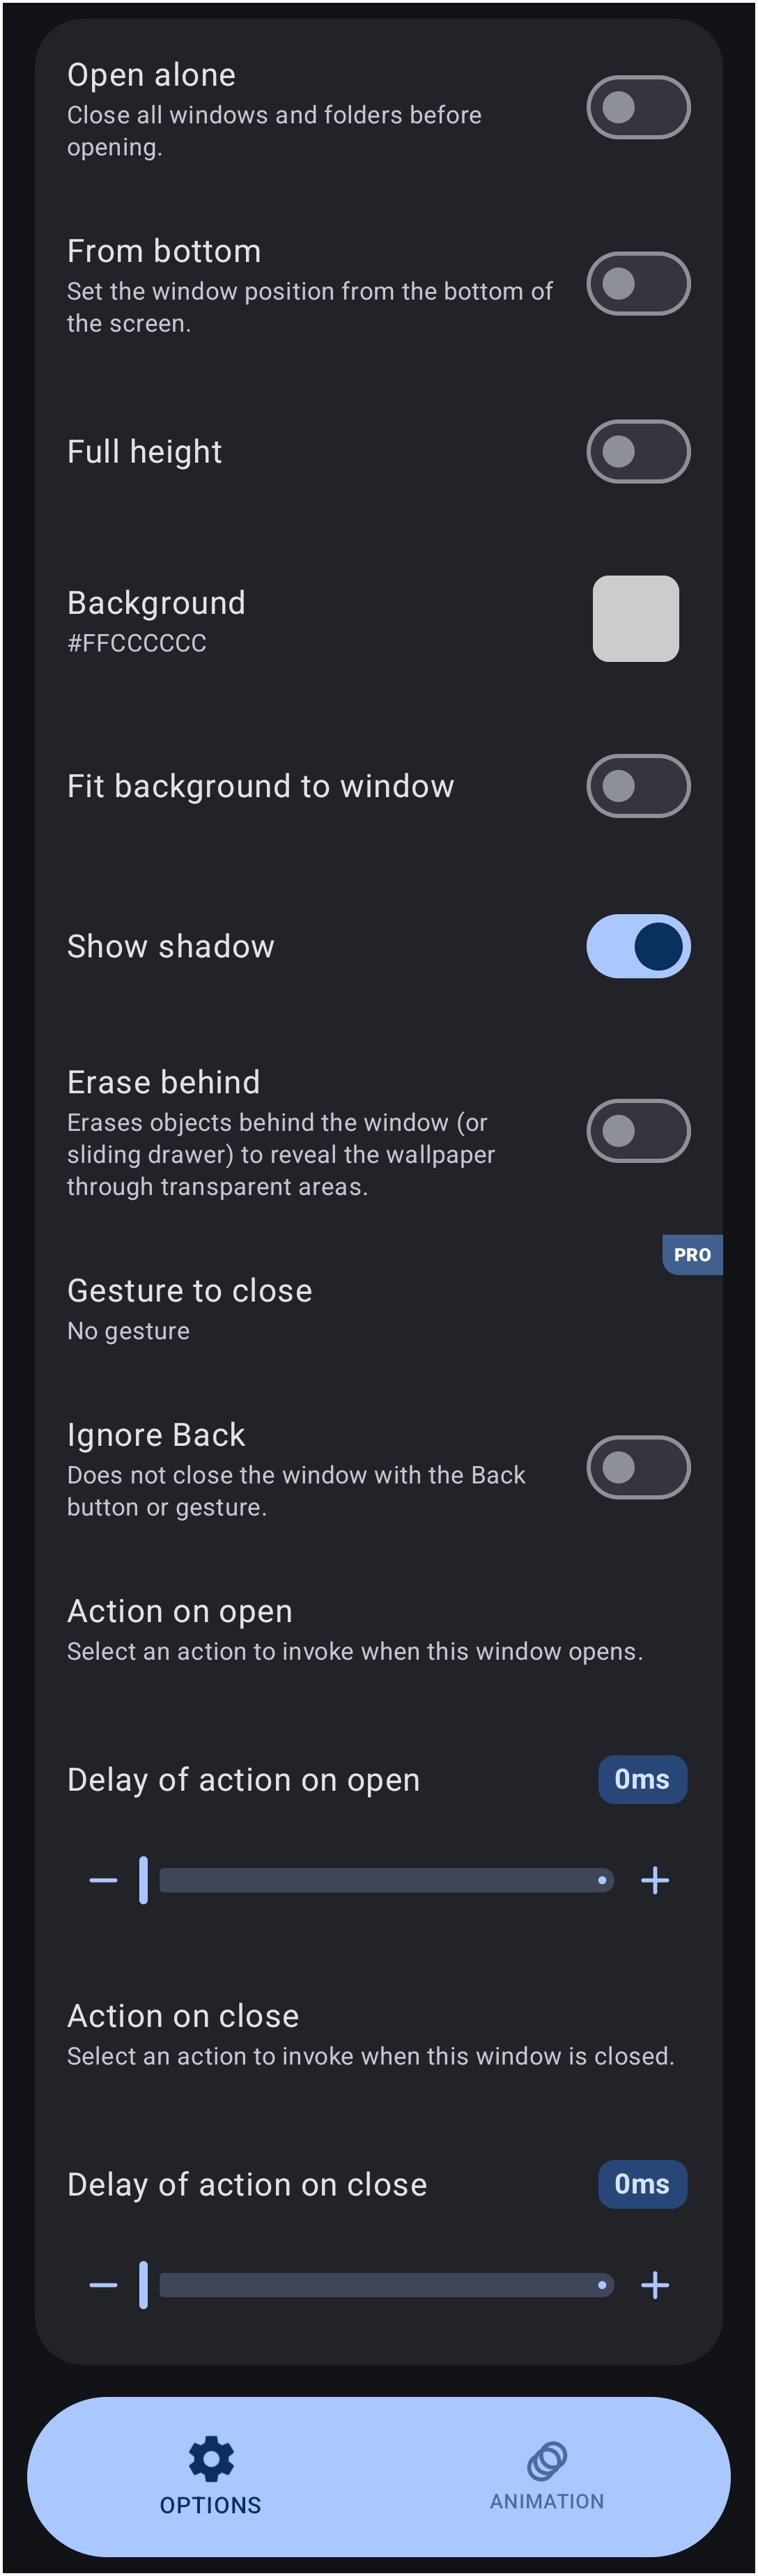
- The background of the window may be visible due to the final sizing of the Google Calendar widget. Decide on the desired styling, be it a solid color, imagery, wallpaper blurring, etc. Here, a solid color is selected:
- The Background option defaults to an off-white cloud. Here, a non-transparent yellow hue will be used.
- Tap the “square” to the right of the Background text to open the Launcher's “Color Picker utility”.
- To set a custom color, tap the
Custombutton- In the “#” dialog enter
FFFFD700recognized as “Gold” - Select OK to return to the Edit dialog
- Back out (swipe right-to-left) to view the window now with its gold background.
- Notice the window is selected (note that each boundary has a “handle” on the center edge).
- If missing, tap the center of the window to select it.
- Alternately, select the Edit icon in the top menu bar.
- Holding the center, move the window slightly. Now drag a selected “handle” to see how visual resizing is performed.
- This can at times be tricky and require re-activating the window by tapping the default window icon and repeating the above.
- The window is now positioned and open.


B. Now to add the Google Calendar widget inside the window.
- In the Page Design menu (top), tap
+and selectGraphic>Image>Applicationto open the Application dialog listing. SelectCalendar(technically Google Calendar) to open a second dialog listing activities:- Launch app (select this) ☚
- New event
- New task
- Preference is to show the calendar event listing, which will scroll by day in the widget within the window
- Resize the calendar widget and the window to meet design needs.
- The window background (now 'gold') can be changed in the window option dialog.
- The Calendar widget does have an Option dialog /style to match your Material theme.
C. Assign a Gesture to open the Calendar