meta data for this page
Advanced Total Launcher Customization: Trigger Total Launch Windows Using Tasker Shortcuts
Designing interactive interfaces within Android often requires combining powerful customization tools. Building a dedicated pop-up window featuring a 3D avatar, audio introductions, and 3D cube transitions significantly elevates the standard home screen experience.
While Total Launcher handles the visual rendering and page animations natively, Tasker integration remains essential for seamlessly triggering specific window displays via automated shortcuts. Synchronizing these applications yields a highly dynamic, engaging interface capable of providing audio-visual greetings and navigating smoothly between specialized layouts. The upcoming instructional guide details the comprehensive procedure for constructing this advanced setup, beginning with the generation of the initial visual component.
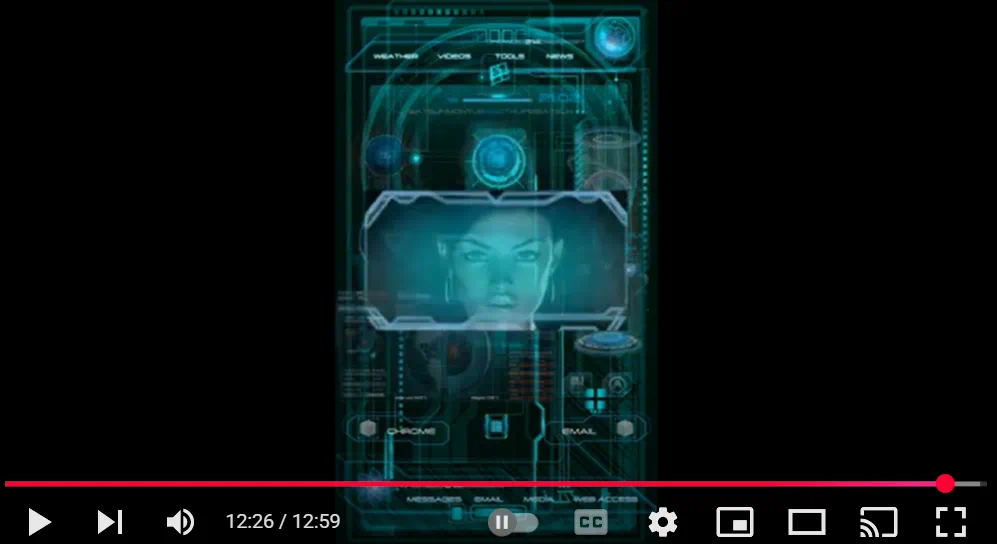
How to create your own Window on Total Launcher with a 3D avatar and Tasker (Android customization) by Kole Stojanoski.
The video was made by Kole Stojanoski in 2020 and is posted on his YouTube channel at the listed URL. It shows the steps for creating a window interface with a 3D avatar, using audio to introduce a visitor to each of 3 pages, with the cube transition in Total Launcher. Tasker shortcuts are used to “call” the window name, which activates the window/page transition.
The written portion of the step-by-step procedure was extracted from the video by uiTotalLauncherManual and presented here for new Total Launcher users to master the how-tos of Total Launcher.
To create a simple window, see here.
The video steps are shown below:
- Start on the existing home screen and open the device's settings: Wireless & Networks (pre-set using a TL shortcut)
- Navigate to Home (of the Launcher). Edit mode is on. Select the existing page (Extraction UI) to place it in Page Edit mode.
- Select TL main menu (lower left), select Launcher Options, select Resources, select Window
- (deletes a previously created window)
- Tap Add (+) to create a new window
- Enter a unique title, which will be “called” later in this Process
- tap OK
- The window dialog now lists all windows, with the newly created window object listed by title
- tap the action icon (play) to open the Window
- opens in full-screen mode
- tap the options icon (gear) low right to open the window options dialog
- Select Background to open the Background dialog
- select Color
- The objective is to have a transparent background in the hex range of 00000000. Without entering a direct hex number, the slider scale with the checkerboard indicates opacity (the lower end being transparency) and gets close enough for transparency.
- Tap OK to return to Window Options
- Tap the Animation tab at the bottom to open the Window Animation dialog
- To cause an animation sound upon entering the page with this object, tap Entering Sound and select the desired sound. The creator has previously used Resources to store sounds and title them to make retrieval easy. See Understanding Resources for more detail.
- Return to the Window Option dialog and repeat the Process for an Exit Animation sound
- return to the Window fullscreen mode by the “back” button or swiping gesture
- The Window should be in edit mode
- Tap the object add (+) icon to open the Add Object dialog
- Select Graphic to open the Graphic dialog. Note the tabbed row near the top of the screen. In addition to “Built-in,” there are other tabs the user has “Saved” or grouped a graphics collection. Under the user-created tab “Jarvis”, an image is selected (selects Add and navigates further to the user's Documents: Gallery folder, makes a selection which causes it to add to the Resources, then makes a selection: this image is an animated GIF file, not a static picture) and appears as the selected image in the Window Edit Options dialog.
- Opacity is adjusted to 80, and the image is centered in the created Window
- Return to Window full screen mode. The image is now centered on the page.
- Adjust size manually by dragging handles of the image, if necessary
- Alternatively, the edit icon (pencil) could have been used to input a specific size of the image
- returns the Window Options dialog
- the Animation tab settings are left at default
- returns to the Window Fullscreen mode by tapping back or using the return gesture
- scroll up to open Task Edit (Tasker) action screen to add an action
- select plug-ins
- Select Total Launcher
- select Window to open TL's Resources: Windows dialog
- From the dialog listing, select the window title created at the beginning of this Process (3D Avatar)
- No configuration is changed other than to ensure there is no delay when the Window opens
- Exit the Tasker configuration action to return to Tasker's Task Edit dialog
- Add a Tasker action: Say (for spoken words)
- Enter the text for words to be spoken
- no change to the
- Engine: Voice (an option to consider)
- Stream - Media
- Pitch (any adjustment would cause a higher/lower sound in voice)
- Speed (faster or slower speech)
- Back out to the Tasker Action dialog
- Tap the application icon (9-square cube in lower right) and then back out of Tasker to return to Total Launcher Home page
This completes the 1st of 3 windows with an avatar and audio (0:00 - 6:45). The Process is repeated for the 2nd and 3rd windows, following the same Process (6:46 - 11:58).
From 11:59 to the end, the creator demos the setup, displaying the 3 window-based screens/pages using Tasker to cycle through them.
Comments & Feedback
Toby Lancer is ready to help! Look for the Quick Help form:
► Desktop: left sidebar located near the bottom for Private to Admin
► Mobile: 3-bar menu at page top.
► Use the Discussion section below to share any experiences and communications with other Total Launcher users.
► Any Registered User can directly update this and any wiki page if desired.
Moderation: To keep the manual clean, all comments are held for appropriateness review. Preview any comment before submitting it. It will not be displayed after submission until it is reviewed. So, please, do not resubmit.
Formatting: If using any code snippets, place them inside code tags (e.g., 'code') using double single quotes (') before and after to keep them readable.
Be Kind: This is a community effort. Please keep feedback constructive and on topic.
~~DISCUSSION~~