meta data for this page
- en
This is an old revision of the document!
<!-- googleoff: index -->
⚠️ v4.0 UI Transition Notice - In Process: The release of Total Launcher v4.0 has introduced significant changes to the user interface. Please note that this page does not yet reflect these updates. The new layout paths, folds, and visual maps are currently being compiled and will be deployed shortly.
<!-- googleon: index -->
Cool Feature: Total Launcher Vertical Page Scrolling
Scrolling is a unique way to increase a setup's visibility. There are two methods of scrolling a page:
- Horizontal - Swiping left-to-right or right-to-left will change the viewable page on the user's screen. This, of course, depends on the number of “pages” the user has created. Many launchers have this capability. In Total Launcher, see Page Creation for an overview.
- Vertical - Swiping up or down is a unique capability of Total Launcher. It expands the screen's real estate. Some have said it allows easy access to data objects/widgets that are less frequently used and therefore unnecessary to view continuously. Few launchers have this. Read below on how to make this possible.
► Scroll the current page to …

This video uses Total Launcher's Scroll the current page to Launcher action with scroll points set to 0%, 25%, 50%, 100%, 125%. A review of this launcher action can be seen here
To set up the launcher for vertical page scrolling:
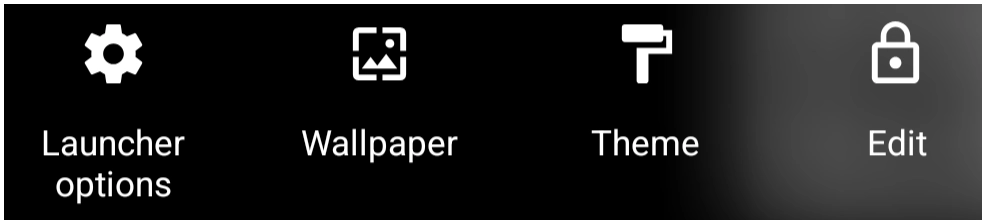
- Enter Edit Mode (see How to Enter Edit Mode) to view the Edit Menu

- Scroll left or right to view the page desired for vertical scrolling
- Tap the Edit Off icon
 to enter Edit On mode.
 - Note the Option icon
 in the lower right corner of the page and tap it
- The Page Options dialog will open.
- Deselect the “Fit the content to the screen height (disable scrolling) and tap OK.
- Tap the page to activate it (the page is now the screen)
- Edit Mode is still on… Tap the Object Add icon
 in the upper right of the screen
- Select any desired item (layout, widget, graphic) … for simplicity in this instruction, select graphic
- Select
Text - Select
Default
- “Text” now appears on the page, and it is selected
- This object must be moved below the bottom of the page. There are 2 methods: Manual (hard) and Calculated (easy)
- Manual
- Tap and hold the “Text” and drag to the bottom of the page as low as possible and release
- Swipe up the screen
- Repeat the previous 2 steps until the object is “low enough” to provide the amount of vertical page scrolling desired
- Calculated
- Tap the “Text” to reveal the Edit icon
 and tap it (before it disappears)
 - The Edit dialog opens
- The X/Y data represents the location of the object
- X being the x-axis or the horizontal position
- Y being the y-axis or the vertical position
- This reviewer's mobile device screen specification is 1024×2400; others may vary
- The “Text” is initially positioned almost in the center of the screen with the measures: X=519; Y=1142, both showing the upper left point of the “Text” object in pixels
- To set a Y position, use the slider to enter 2504 (the maximum) or tap the 'number' to open the manual entry dialog. Tap Ok. The “text” object has disappeared … scroll down to find it
- A vertically scrolling screen has been created.


When setting the Y-axis number for the 'depth' of the vertical scroll, the dialog restricts the maximum entry/slide of 2504.
A higher number is achievable, but requires:
- Manual movement of the object using tap/hold/drag, repeatedly or
- Scale
- With the object deselected, tap the Scale icon ui-icon_move_scale-v4.webp_direct_25 on the Page Design menu
- The top dialog is scale. It defaults to 100. Negative shrinks and positive expands. To move an object to a greater page depth, apply a negative scale to shrink the display. Exit the full dialog.
- Select the object and drag it to the lower position desired and deselect it.
- Enter Scale mode again and adjust the 'scale' to the original view (the object moved will disappear). Exit the full dialog.
- The page will now scroll to the relocated object with a Y-axis greater than the Object Edit dialog limits.
Comments & Feedback
Toby Lancer is ready to help! Look for the Quick Help form:
► Desktop: left sidebar located near the bottom for Private to Admin
► Mobile: 3-bar menu at page top.
► Use the Discussion section below to share any experiences and communications with other Total Launcher users.
► Any Registered User can directly update this and any wiki page if desired.
Moderation: To keep the manual clean, all comments are held for appropriateness review. Preview any comment before submitting it. It will not be displayed after submission until it is reviewed. So, please, do not resubmit.
Formatting: If using any code snippets, place them inside code tags (e.g., 'code') using double single quotes (') before and after to keep them readable.
Be Kind: This is a community effort. Please keep feedback constructive and on topic.
~~DISCUSSION~~